VCP5 Objective 1.2 “Quickly” Deploying Using AutoDeploy - Take 2
So when last we spoke I had left Linux updating.
It was when I came to resume last night that I couldn’t track down the original article I had been following.
It was only when I found Marco Broeken’s blog “vSphere5 Auto-Deploy in 20 Steps”. This started straight away with the, now, blindingly obvious statement that the VCVA is a Linux box, therefore my Ubuntu box was a waste of space.
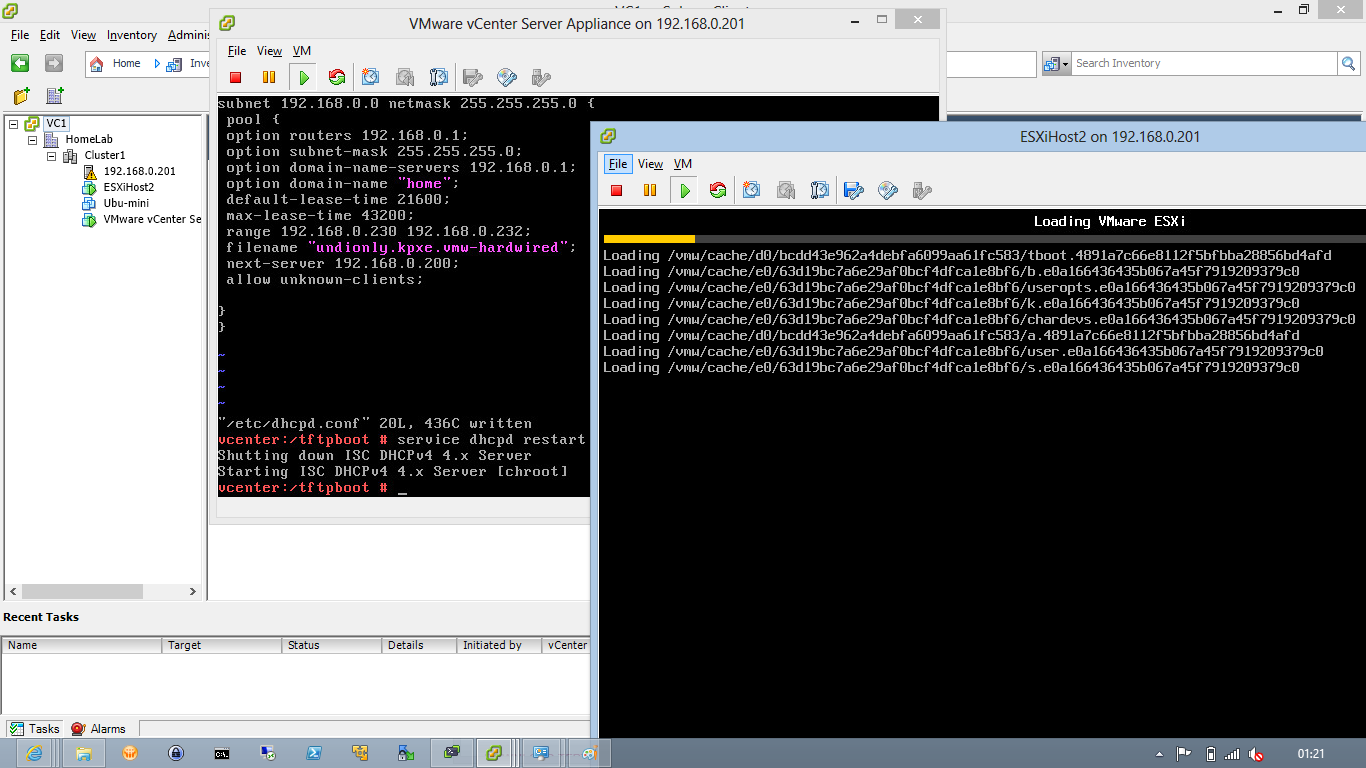
Simply configure and start the Tftp Daemon and the DHCP daemon services on the VCVA server and then you’re ready to move on to downloading the Image Bundle zip from VMware and importing that via the powerCLI Add-ESXSoftwareDepot. I did have some issues with a corrupted install of powercli 5.5 and 5.1 on the same PC that still isn’t resolved even after combing the registry and file system. Luckily I had my laptop to run the PowerCLI steps from.
Minor edits to Marco’s post are to
- Just list the filename not the full /tftpboot folder. Then my (virtual) ESXi Host started to gpxe boot ok. However it did pick up a different IP for the tftp step.
- Disable any other DHCP servers you may have on your lab network. In my case my Sky Hub was sneaking in there and giving the gpxe boot an ip address and therefore my host wasn't getting my tramp.
Drill down to the vCenter Server system. Click the Manage tab, select Settings, and click Auto Deploy.
Here are some pictures of the amazing process of esxi loading itself onto a VM, running on an ESXi host!
It was the final message about persistent storage that taught me the most about Auto-Deploy, which will follow in the next post!